With the development of digital marketplaces, the use of a transparent logo has been extended. A transparent logo is useful in many sectors like various posts on social media, website making, creating cards, and so on. Now, we are going to present the tutorial on “how to make a logo transparent in Photoshop CC”.
Here, we will show ‘how to make a logo transparent in Photoshop’ simply. As our process is easy enough for a beginner as well as professional photographers or graphic designers. Let’s start with a process.
Table of Contents
How to Make a Logo Transparent in Photoshop CC Step One:
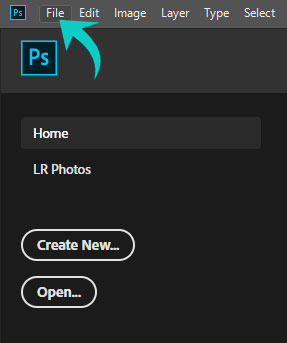
Before start making a logo transparent in Photoshop, you should open your targeted logo in Photoshop. To open your logo in Adobe Photoshop cc, go to the top menu and click on the File and then click on Open.
Now click on the “Open” where you will find your Logo location; and next, you need to click for “OK”.
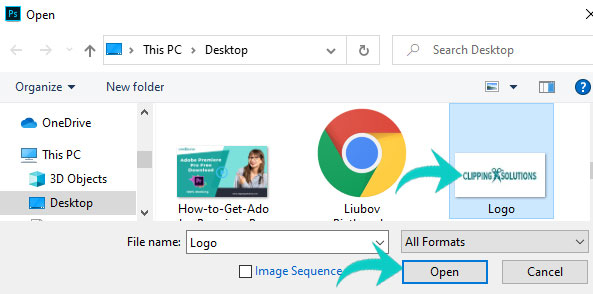
Note: Image Opening: File > Open >Open
How to Make a Logo Transparent in Photoshop CC Step Two:
In this step, we will unlock the Logo Layer. Here we show you the simple process for unlocking the layer. Keep your logo in the right position and go to the layer panel where you will find a lock icon. Now, “click” on your lock icon then it will unlock (need to double click the lower version of Photoshop CC).

How to Make a Logo Transparent in Photoshop Step Three:
Now make a copy of the layer. Select the original layer and click (ctrl+J) for windows and (command+J) for mac. Next, you have to select the background of the logo which you want to make transparent. We will use Magic Wand Tool to select the background.
Now you have to select Magic Wand Tool (from the left side of Photoshop).

Then click on the logo with the magic wand tool you can see an auto-selection created around the logo.

If you notice properly you can see some inside which are still unselected.

Now press the shift key and hold then click on the unselected inside areas.
Next, we will add feather to make the edge smooth. So that goes to the select from the top menu bar (Select > Modify > Feather)
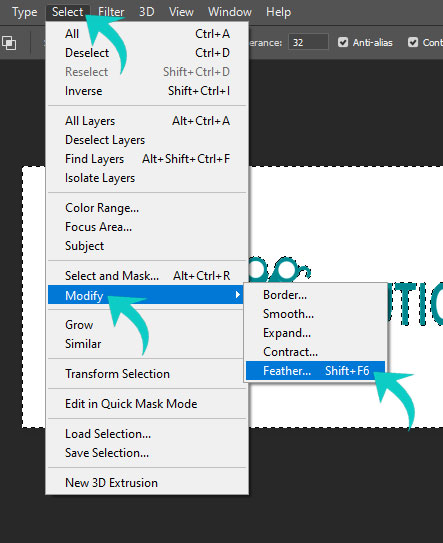
now there will open popup box and use 0.5 (it would vary according to the size of the photo) and click ok.

Right now you need to press the delete or backspace key from your keyboard.
Make a Logo Transparent in Photoshop CC Step Four:
In the background, you will get some parts that aren’t work on your selection. To delete them, you need to select the Eraser Tool. Just zoom in on the logo and find out the parts and apply the tool.
Make a Logo Transparent in Photoshop CC Step Five:
Now, your transparent logo is ready to save. Go to the File (on the top menu) and select “Save as” from the down for saving your transparent logo.
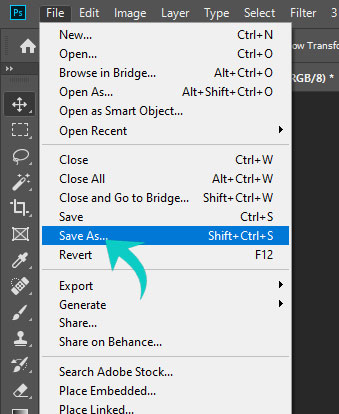
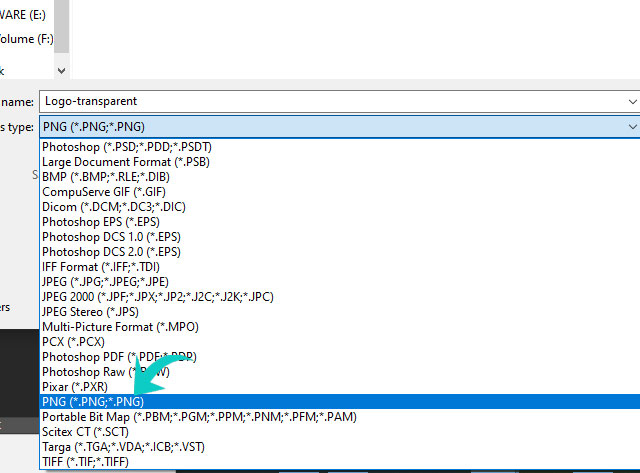
Now select the location you want to save the file and select the file type PNG.
